|
Step 5. Editing
the images to top
Here we are ready
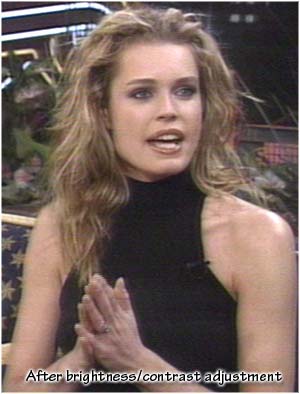
to edit. First thing I do is adjust the brightness and contrast
levels. Not too much, just so that you can distinguish different
areas of the image better than before. Use the preview switch
to switch back and forth as you change the settings to see what
you are doing.

 
Not too much,
but noticeable. This will allow more shades to adjusted in the
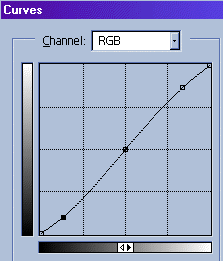
image. Next you should adjust the curves. Curves lets you adjust
the tonal range of an image. However, instead of making the adjustments
using just three variables (highlights, shadows, and mid tones),
you can adjust any point along the 0–255 scale while keeping
up to 15 other values constant. You can also use the Arbitrary
Map option in the Curves dialog box to draw a tonal curve by
dragging. This feature lets you create a variety of interesting
tonal and color effects.
Using curves
for tonal adjustments
Curves lets you
make precise adjustments to one area of the tonal range while
controlling the effect on the others. The first curve shown here
is a common curve adjustment used to boost contrast in a CMYK
scan: the S-curve. The midpoint of the curve is anchored, then
the quartertones are decreased to lighten the highlights, and
the three-quartertones are increased to darken the shadows. The
inverse of this curve could be used to correct an image with
too much contrast. The final two curves demonstrate other typical
tonal adjustments in CMYK mode.

 
You can clearly
see how adjusting the curves distinguishes the colors more clearly
and gets rid of the "gray foginess" that covered the
image. Its easy to over use this so be careful, adjust only in
small increments. Actually the image above is a bit over-saturated,
but not too bad.
|


