|
Step 8. Sharpening
to top
This is a very
important step that most cappers overlook, sharpening the image.
This is what will bring out the detail in the caps. I like to
"over sharpen" then fade it down. I do two sharpen
passes, the first with a large radius then with a smaller one.
The first time i use a radius of 0.9, set to 250%, with a threshold
of 4. Don't worry that it looks too sharp, the next step will
smooth it down. It is important that you use a high percentage
to give the proper effect.
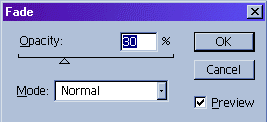
Next use the
"fade" option to fade the last used filter (unsharp
mask) down. I usually will fade it down to about 20 - 40 % depending
on the clarity for the picture.
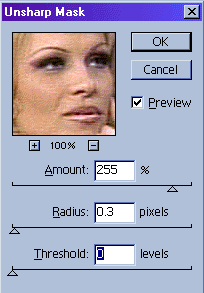
Now unsharp mask
again but this time set to 250%, radius of 0.3 and threshold
of 0. Fade it down again to about 30% or until the image doesn't
look to distorted, but keep in mind that you will be re sizing
your image down later.


That's it! By
this point you will have vastly improved the quality of your
video capture. But feel free to make more changes. it is a good
idea to record all your editing steps so you can look back to
see what works. Also remember to keep looking at your original
to make sure you're not "over editing." Once you have
finished with the editing you are ready to montage the images
together.
|


