|
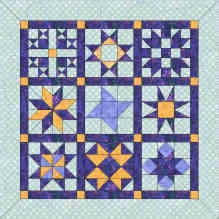
Star Sampler - Finishing |
||||||||||||
|
Sewing
Quilt Top Together: Cut
24 – 12 ½ x 2 ½” dark blue strips Decide
where you want each star block to be in your layout. Sew
one 12 ½” dark blue strip to the right side of each block Press
towards the dark blue strip Sew
one 12 ½” dark blue strip the left side of the first block in each
row. Press towards the dark blue strip. Sew
each row of star blocks together. Press seams towards dark blue strip. Sew
3 – 12 ½” dark blue strips together with a 2 ½” gold square in
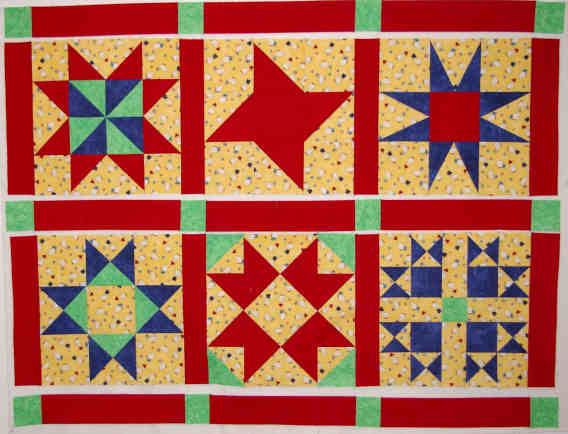
between each strip. Press towards dark blue strip. Sew a 2 ½” gold square at both ends of each dark blue row that you sewed above. Press towards the dark blue strip. You should have rows like this:
Sew
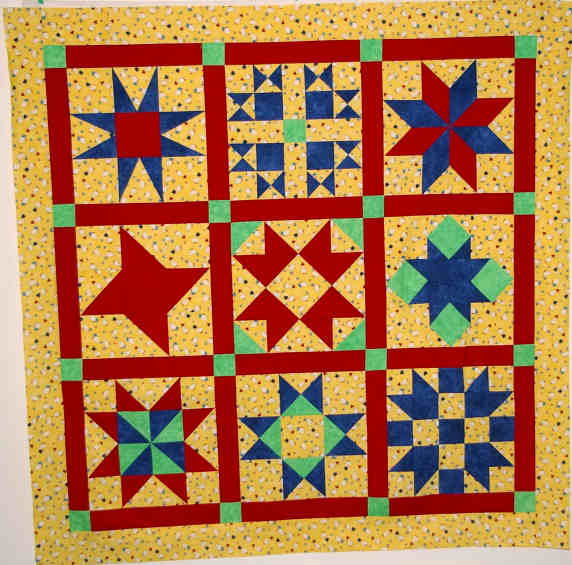
the above rows together. Press seams away from the star blocks.
Adding Borders: Here is a really good article on borders. Measure
the length of your quilt top at the left edge, right edge and middle.
Using the smallest measurement and cutting your border strips to this
size will help keep your quilt square. Cut
2 – 5 ½” wide border strips the smallest length you measured above.
You may have to cut 2 strips and sew them together (end to end) if your
border fabric is not wide enough to cut across the grain (parallel to
the salvage). Sew
the side border strips onto your quilt top. Find the middle of the quilt
top and the middle of your border strip. Match these two points and pin.
Pin the ends of the border strip even with the edges of the quilt
top. Measure
the width of your quilt top at the top, bottom and middle. Cut
2 – 5 ½” wide border strips the smallest length you measured. You
may have to cut 2 strips and sew them together if your border fabric is
not wide enough to cut across the grain (parallel to the salvage). Sew the top and bottom border strips onto your quilt top using the same method as the top and bottom. Press towards the border.
Pinning
The Quilt Top, Batting, and Backing Together: Cut
your backing in half so you have two pieces of fabric that are
approximately 40” x 63” Take
one of the pieces and cut it in half lengthwise so you have two pieces
20” x 63” Save
one of these pieces for another use. Cut
the salvage off one side of the larger piece. Sew
the cut sides (63” sides) of the large and one small piece together so
you have a backing that is approximately 60” x 63” Place
the backing on the floor wrong side up (right side facing the floor). Tape
the edges to the floor with wide masking tape starting at the center of
each side and working outwards towards the corners. Make the backing
taught but not too tight. Place
the batting on top of your backing. Smooth out any lumps or bumps. Place
your quilt top, right side facing up, on top of the batting. Using
safety pins, pin the three layers together. Start at the middle of the
quilt and pin to divide the quilt into quarters. Then pin each quarter
section starting at the middle and working out towards the edge. Place
pins about 5" apart. You
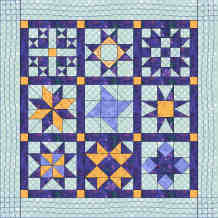
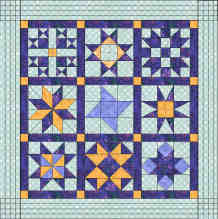
are now ready to quilt. Quilting: Here are a couple of options for quilting your quilt. Click on the image to view a larger picture.
Squares on point in each star X through each star
All over squiggle
Binding: Some binding tips can be found here. Cut 6 - 2 1/2" wide strips from your binding fabric. Placing ends of two strips, perpendicular to each other, stitch at a 45degree angle. Trim the seam to 1/4". Repeat for the rest of the strips so you have one continuous long strip. Cut one end of you strip at a 45degree angle. Press this edge under 1/4". Fold your strip in half and press the entire length of the strip.
|
||||||||||||
