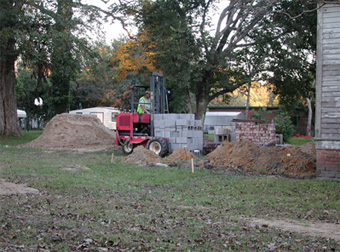
We shopped around for best prices for concrete blocks. We learned that LeFarge has two models: a light-weight and standard-weight variety. Since Jim, who has a bad back, was going to lay these things, we opted for the light-weight ones. Above. LeFarge delivered the light concrete blocks.
|
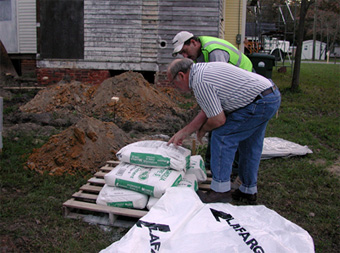
Checking the instructions on the mortar mix, revealed that it was just a mix of cement and lime. We had thought we were getting pre-mixed mortar where we just had to add water. As it happens, real masons use a mix if lime and cement and add their own sand. So now we have to order a load of sand.
|
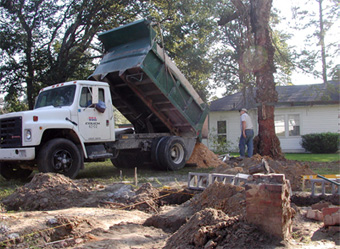
Our load of sand arrives.
|
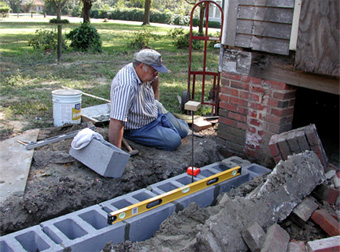
While most building progresses from the bottom up, we had to build differently. We wanted our addition's floor to be level with the main house. We had planned on using vinyl floor covering so we knew exactly how high the footer and foundation should be. This required some calculation of block and mortar height, as well as floor joist height to determine footer depth.
|
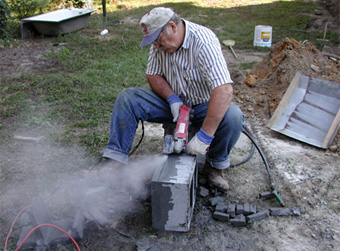
The concrete footer had changed slightly, so it was necessary to "trim" some of the blocks to make the footer remain level.
|
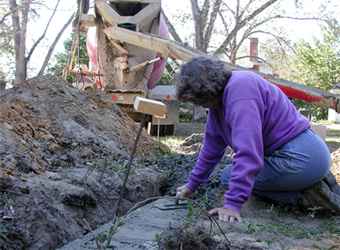 Elizabeth finishes the first round of block. We installed pieces of re-bar to tie the footer and foundation together. Note the blocks of wood on the tip of re-bar. This is to prevent someone from skewering themselves on them. No workman's comp' on this job! Elizabeth finishes the first round of block. We installed pieces of re-bar to tie the footer and foundation together. Note the blocks of wood on the tip of re-bar. This is to prevent someone from skewering themselves on them. No workman's comp' on this job!
|
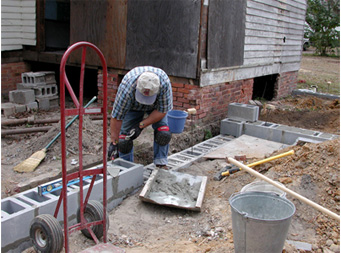
Jim uses our moving dolly to haul blocks to the job site.
|
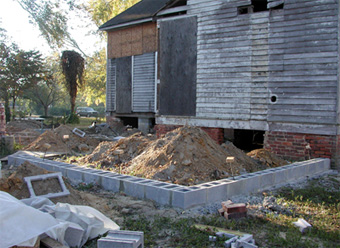
Third row of block done. The square frame-looking objects are actually pieces of 12" concrete blocks that Jim had to cut off with a masonry saw to achieve the correct height of our foundation. We broke them up and used them to fill in the blocks before adding concrete.
|
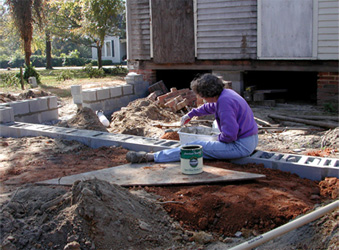
Elizabeth fills in the first course of block. She opted for the lighter weight dishpan to mix concrete in rather than the real metal model.
|
|
|
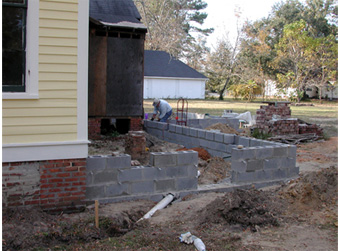
Almost done with the footer and foundation. The large gap is for the access door. The small gap in the fourth course is for the vents. Visible in this image is the step in the foundation. We used 12" blocks to reach ground level. After that, we went to 8" blocks. This left a 4" relief upon which our brick veneer would rest. We placed brick ties in the block that would tie the two masonry walls together.
|
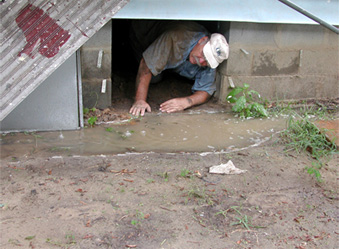
A sudden downpour caught Jim under the house. When the grounds were graded after construction, this problem would disappear.
|
|
|